Thanksgiving is almost here, and you want to prepare a juicy, tender, and soft-with-little-spices turkey for your family. Before buying the bird, you realize you don’t have a roasting pan.
Don’t worry because we have a solution. Our turkey cooking guide will teach you how to prepare it in a disposable pan.

We will include the necessary preparations for your bird before cooking and a step-by-step guide on the roasting process.
But, this guide is not limited to turkeys for Thanksgiving. You can use it any day.
How To Prepare Your Turkey For Cooking In A Disposable Pan
Most people decide on the next meal depending on their current craving. However, this won’t work well if you want an excellent turkey meal.
We suggest you prepare for the cooking a week earlier because you need some days to freeze the bird. Besides, early preparations make your taste buds more eager for the meal.
Buy Turkey
Take your time to shop for the best turkey. When buying, consider the turkey’s size, type, and shape.
A turkey with a well-rounded breast is juicier than the flat one. Also, go for frozen turkeys because these are well-preserved.
You probably won’t go to the market again, so don’t forget to buy ingredients. You will need the following:
- Salt
- Black pepper
- Lemon
- Rosemary
- Garlic
- Onions
- Olive oil.
You can get more ingredients that you swear by.
Note
The size of the turkey you choose depends on the size of your family. Leftovers taste better than fresh meals, so that you might need a giant turkey.
Defrosting Is A Crucial Stage
You want your turkey cooked evenly, so you should defrost it. You should remove it from the freezer a day before cooking and store it in a safe corner of the fridge.
Cooking the bird without defrosting could leave you with uncooked parts. Besides taking away the fun of feasting on the turkey, the raw parts contain harmful bacteria.
The Night Before Cooking The Turkey In A Disposable Pan
Unwrap your turkey and store it in the fridge for 10 hours before cooking. Leaving the skin exposed dries it out, giving you the brown extra crispy exterior after cooking.
Remove all the meaty pieces inside the turkey and cut the fatty glands around the neck. Stuff the turkey with onions, garlic, and herbs to keep the bird’s moisture and add flavor.
Season the turkey. Mix your favorite spices and herbs with butter and rub them under the bird’s skin.
Your mixture can be lemon, garlic, and paprika with a sprinkle of ground coriander. You can also try a mix of parsley, rosemary, and sage.
Applying the seasoning under the skin ensures direct contact with the meat hence total absorption. You should also massage the ingredients outside the turkey.
Remember, the goal is to get a juicy turkey with crispy golden skin.
Brine Turkey
Brining ensures your cooked bird is soft and tender and adds flavor to the meat. You can do basic bringing.
Soak the meat in a mixture of salty water with added herbs and spices and let it stay overnight.
Cooking The Turkey In A Disposable Pan
The big day is here, and you cannot wait to satisfy your craving. Since you are looking forward to the best-prepared turkey, you should start the cooking process early.
Pull the turkey from the fridge and let it sit for 30 minutes before cooking it.
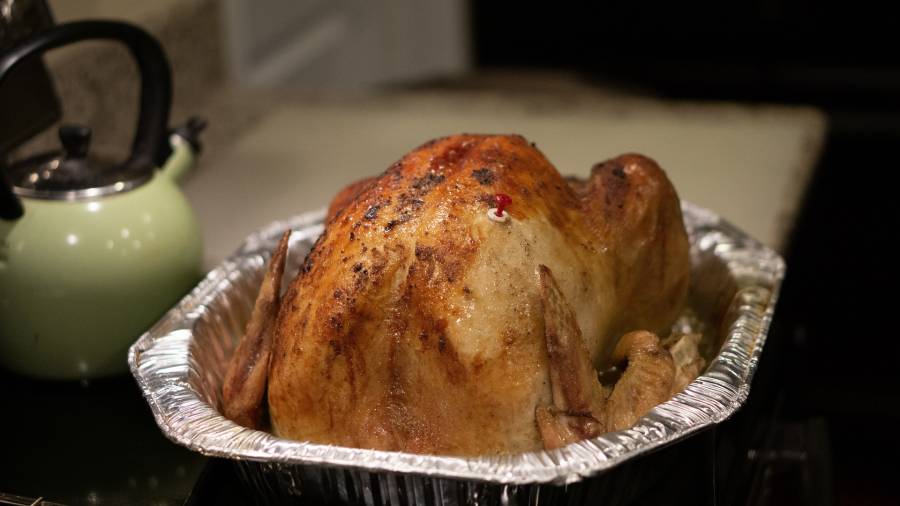
Step 1: Set Up The Disposable Pan
It would be best if you only used disposable pans meant for roasting. Look for those with more extensive and higher sides to ensure the juices produced during cooking do not drip.
Inspect the foil roaster by holding it against the light to see if there are small holes or cuts.
Place a baking sheet under the foil roaster before putting your ingredients on it. It ensures the safety of your bird when removing it from the oven after roasting.
The foil roaster alone is unstable and can spill your contents.
Once your disposable pan is ready, pour the tasty drippings to add flavor to your bird. You can add various vegetables like chopped onion and carrots and cover them.

Step 2: Prepare The Turkey For Cooking
You did most of the preparations the night before the cooking, so little is left. Remember you lifted the skin during seasoning, so you must secure it to keep it intact until the cooking is over.
Use toothpicks to fasten the skin inside the meat on the legs. It should be done on the lower abdomen of the turkey.
Once that is secured, rub the bird with olive oil. Again, the goal is perfectly cooked, crispy, golden brown skin, and the oil will help to achieve it.
Step 3: Pre-Heat The Oven And Roast Turkey
Preheat the oven to 350 degrees Fahrenheit. Using your oven mitts, slide the disposable pan into the oven, and after it warms, place the bird on top and slide it in.
Roast the turkey to 150oF and let it cook for 2 hours.
The cooking time depends on the size of the turkey, your oven, and how cold the bird was before baking.
Start roasting the turkey at 425oF for 40 minutes to speed up the cooking. The results will be crispy thighs and legs.
If you start cooking the turkey at high temperatures, lower it to 350oF after 40 minutes until it cooks thoroughly.
NOTE
The aroma of a roasting turkey will tempt you to open the oven often. Resist the temptation until the cooking time is over.
Opening the oven cools the temperatures, taking longer to cook the bird.
Step 4: Check If The Meat Is Cooked
Letting the turkey overstay in the oven could result in overcooking, and you don’t want that. Check the temperature of the bird by inserting a thermometer into the breast or leg.
If the temperature reads 155-160oF, remove the turkey. The temperature will continue rising and could reach 170 degrees.
To maintain the moisture in your meat, wrap the bird with aluminum foil and leave it for 30 minutes.
Step 5: Curve Turkey
The best way to enjoy your deliciously prepared turkey is by curving it. It is easier to eat the small curved turkey pieces.
Start by slicing the meat between the breast and the back leg. Slice the meat parallel to the bone in small chunks.
Fold the legs and upper wings to expose the ball joint. Separating these parts at the ball joint makes work easier and ensures the pieces are neat.
When removing the breast meat, use a boning knife. Ensure the turkey is well-rested so that it is not too hot.
Cut the big chunks of breast meat into smaller slices for easy feeding. Smaller, thinner pieces also ensure the meat is tender and impressive.
Step 6: Serve the Meal
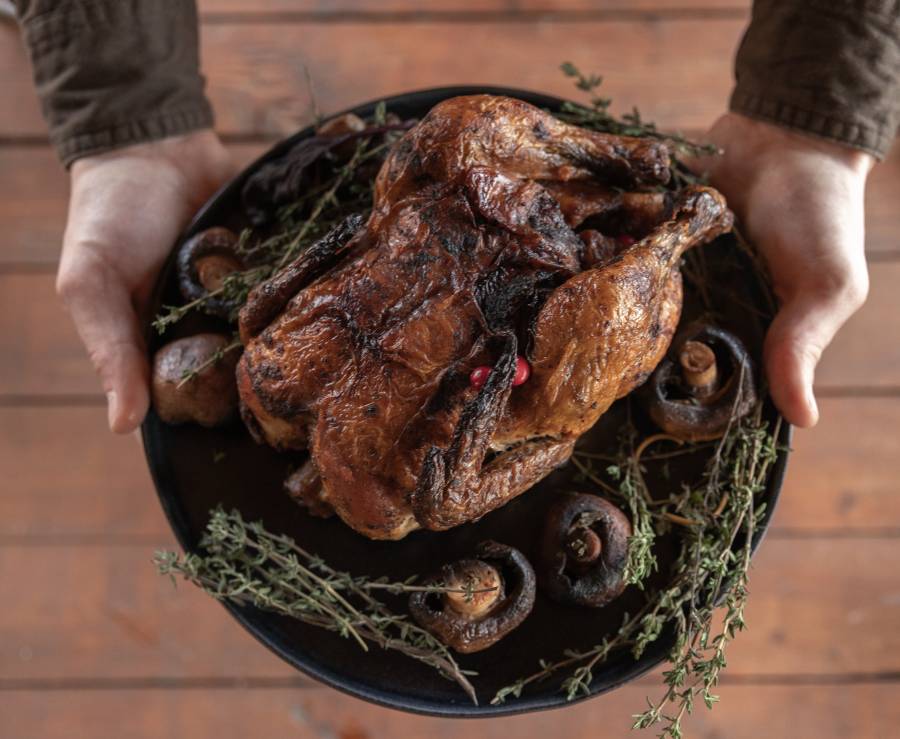
Congratulations on finally satisfying your craving. You and your family can now sit and enjoy your deliciously cooked turkey in a disposable pan.
Serve with some sidings or a sweet sauce to add taste.
NOTE
Using a disposable pan to cook turkey might be convenient since no washing is required, but it is expensive.
You can budget for an affordable and durable roasting pan to reduce the expense of foil roasters each time you want to make a turkey.
Takeaway
Cooking turkey in a disposable pan is possible. Ensure you prepare the pan well to avoid spills and don’t reuse it if it has holes or tears.
Our simple turkey cooking guide will give you the best meal of your life.


